Sand sealers: What Is Sanding Sealer?
What Is Sanding Sealer?
By
Lee Wallender
Lee Wallender
Lee has over two decades of hands-on experience remodeling, fixing, and improving homes, and has been providing home improvement advice for over 13 years.
Learn more about The Spruce’s
Editorial Process
Updated on 04/02/22
Reviewed by
Johnathan Brewer
Reviewed by
Johnathan Brewer
Johnathan C. Brewer II is a licensed general contractor specializing in kitchen, bath remodels, and general construction with two decades of professional experience.
Learn more about The Spruce’s
Review Board
Fact checked by
Jillian Dara
Fact checked by
Jillian Dara
Jillian is a freelance journalist with 10 years of editorial experience in the lifestyle genre. She is a writer and fact checker for TripSavvy, as well as a fact-checker for The Spruce.
Learn more about The Spruce’s
Editorial Process
Etienne Jeanneret / Getty Images
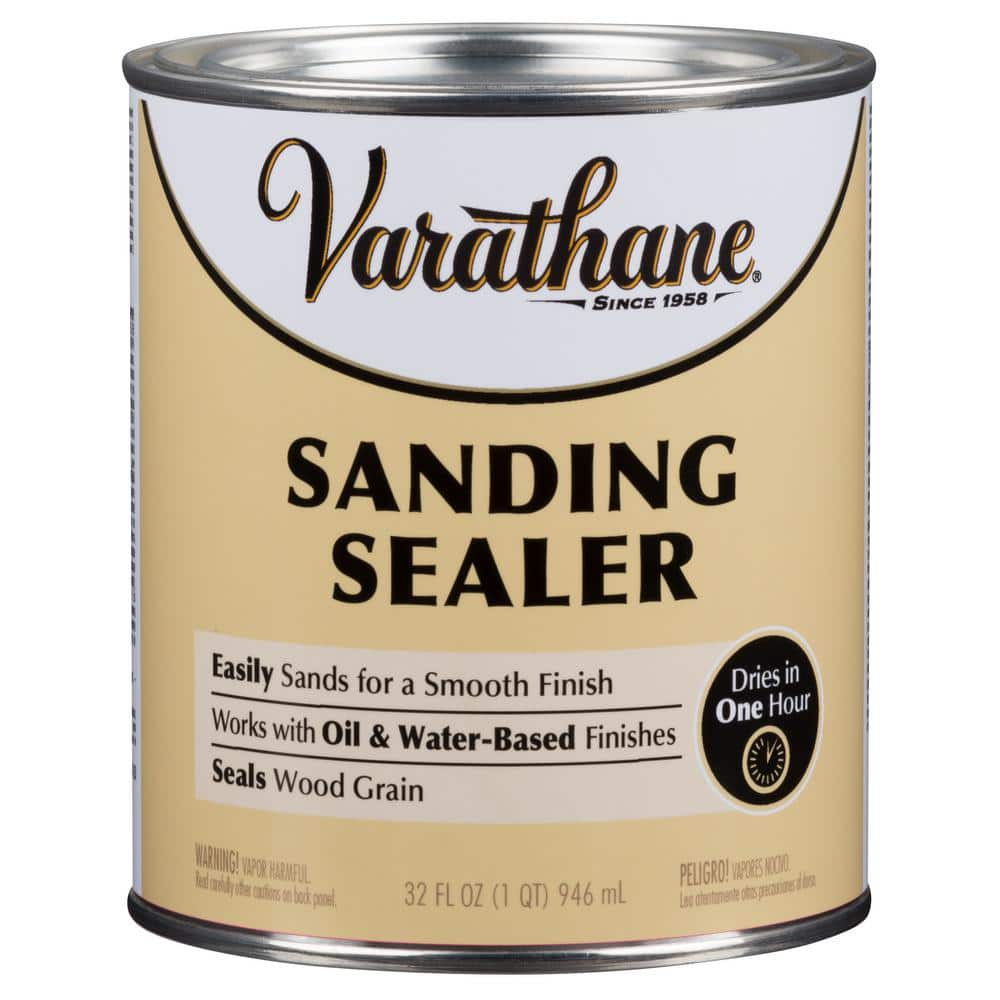
Sanding sealer just might be one of the best painting products that you’ve never heard of. Once you’ve used sanding sealer, you’ll always want it on hand for prepping difficult porous materials before clear-coating or painting.
When you use sanding sealer, projects that formerly required multiple coats of paint—and which still came out spotty—go faster and produce better color consistency. Plus, projects can be finished in a day rather than spanning many days.
What Sanding Sealer Is
Sanding sealer is a clear liquid base finish that is applied to bare natural wood or to any uncoated wood product. Sanding sealer always must be sanded down smooth after it has dried.
Sanding sealer helps improve the condition of subsequent coats of paint or clear finish by sealing the wood pores. With the wood pores sealed, the coating is able to spread out and cover the surface rather than being quickly soaked up. Typically drying within an hour, sanding sealer helps wood achieve a smooth, even, and color-consistent top finish.
Uses for Sanding Sealer
- Painting medium-density fiberboard (MDF)
- Painting OSB
- Sealing wood knots
- Applying to furniture and cabinets
- Flattening out raised wood grain
- Painting any species of wood
- Sealing pores for smoother finishes
- Coating bare hardwood floors before topping with oil or polyurethane
What Sanding Sealer Is Made From
Polyurethane and shellac are clear coatings that are sometimes used to seal wood pores prior to coating.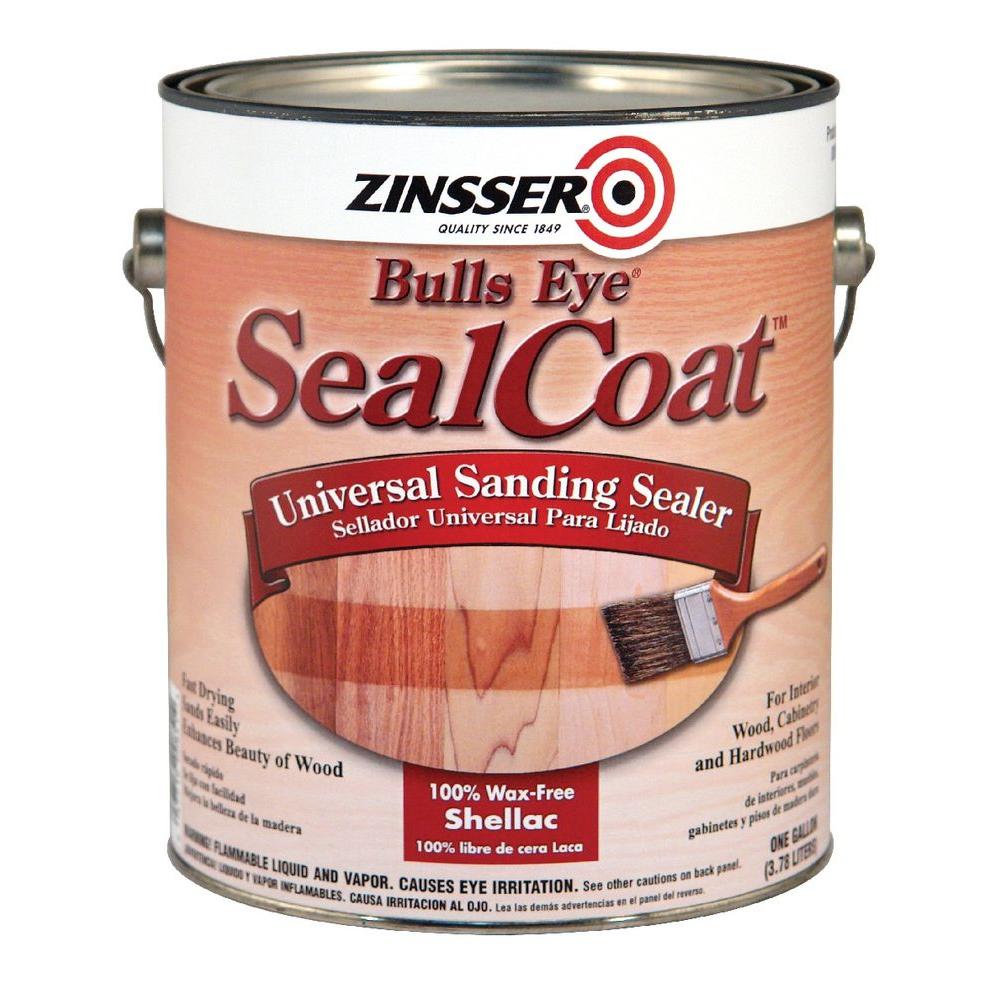 Sanding sealer is similar to polyurethane and shellac, with one major difference: zinc stearate additive.
Zinc stearate is added to the sanding sealer to help it produce a higher, fuller build. This gives you more material to sand.
The zinc stearate also acts as a lubricant to reduce drag when sanding and to help pulverize and slough the sanding sealer into dust. Polyurethane and shellac sometimes gum up the sandpaper; sanding sealer does not.
Some forms of sanding sealer are water-based, so clean-up can be done with mild soap and water. Any oil-based polyurethane or shellac must be cleaned with paint thinner or acetone.
When to Use Sanding Sealer
Sanding sealer should be used after the wood has been sanded down to a bare finish but before the topcoat (such as paint) has been applied. Applying sanding sealer to a stained surface is generally not recommended, as the sanding step will scuff away the stain.
Safety Considerations
Sanding sealer is a toxic substance and should be handled with care. Use only in well-ventilated areas. Methoxymethylethoxy propanol is toxic and can be absorbed through the skin, so wear latex gloves and protective clothing.
Since the point of using sanding sealer is to create dust, wear breathing protection. Sanding sealer creates fine, airborne dust that can irritate breathing passages.
How to Use Sanding Sealer
-
Sand Wood
With a hand sander or oscillating sander, sand down the wood to a bare surface.
Tip
While sanding sealer will help smooth down the surface, you should get the bare wood as smooth as possible to start with.
-
Clean Wood
First, use a shop vacuum, then clean off the remainder of the wood dust with a tack cloth or with rags.
-
Mix Sanding Sealer
Gently mix the sanding sealer with a paint stirring stick. Do not shake the can, as this will cause the product to develop bubbles.
-
Apply Sanding Sealer
Dip the paintbrush in the sanding sealer.
 Completely cover the wood surface with a thin coat of the sanding sealer. Do not apply a second coat at this time.
Tip
If desired, you can try a technique known as grain popping at this point: Apply a damp cloth to raw sanded wood to enhance the grain and open up the wood pores to better receive the product you’re about to apply. If you want to try grain popping, do so before you apply the sanding sealer.
-
Sand Down Sanding Sealer
After letting the sanding sealer dry for at least an hour, sand it with #320 fine-grit sandpaper.
-
Clean Surface
Clean off the sanding sealer dust with the shop vacuum and the tack cloth or clean rags.
-
Apply Topcoat
You can immediately paint or clear-coat the surface after cleaning off the dust.
 Completely cover the wood surface with a thin coat of the sanding sealer. Do not apply a second coat at this time.
Tips for Using Sanding Sealer
- When sanding down the sanding sealer, be gentle. The aim is to sand down the product smoothly, but not to sand through to bare wood.
- If you do happen to sand through the sealer, repeat the process. Clean the wood, apply a second coat, and sand again.
- Do not apply stain to the top of the sanding sealer. To work properly, wood stain needs to soak into the pores of the wood. Sanding sealer negates this process. The stain will sit on the surface and not be absorbed.
- If you’re having a problem with your water-based sanding sealer raising the grain too much, switch to an oil-based sanding sealer.

The Spruce uses only high-quality sources, including peer-reviewed studies, to support the facts within our articles. Read our editorial process to learn more about how we fact-check and keep our content accurate, reliable, and trustworthy.
-
Dipropylene Glycol Methyl Ether ((2-Metholymethylethoxy)Propanol). United States Department of Labor.
-
Wood Dust – Health Effects. Canadian Centre for Occupational Health and Safety.
What Is Sanding Sealer & When Is It Used?
If you sand porous products like lower or medium-density fibreboard, you know how difficult it can be to prep them for painting or clear coating. Sometimes you have to use multiple layers of coating, and even then the results come out spotty.
With sanding sealer, you can tackle these projects more efficiently and get a better color consistency. Work that used to take days to finish can be completed within a day, making your workshop more productive.
In this blog, the team at Fintech Abrasives will explain what sanding sealer is, how it works, and when you should use it to get best results.
What Is Sanding Sealer?
Sanding sealer is lacquer or another basic coating that contains zinc stearate. As a soft, fluffy soap, stearate gives the lacquer loft, allowing it to build up faster and fill in pores more efficiently. As well as softening the lacquer, it acts as a lubricant, so that its powders come off easily. The characteristics of sanding sealer make it ideal for reducing the number of coats and time spent sanding. This is especially useful when attempting to create a smooth, pore-free finish.
By sealing the pores of the wood, sanding sealers help improve the condition of ensuing coats of paint or finish. As the pores are sealed, the coating can spread out and cover the surface rather than being absorbed quickly. Drying within an hour, sanding sealer aids in the creation of a smooth, even, and color-consistent surface finish.
Uses for Sanding Sealer
Sanding sealer is mainly used in woodworking applications. Common uses include:
-
Smoothing out raised wood grain
-
Sealing knots in wood
-
MDF (medium-density fiberboard) painting
-
Oriented strand board (OSB) painting
-
Adding a finish to wood furniture and cabinets
-
Coating hardwood floors before applying oil or polyurethane
What Sanding Sealer Is Made Of
Polyurethane and shellac, both clear coatings, are sometimes used to seal wood pores prior to painting. Sanding sealer is similar to these products, but with one major difference: the zinc stearate additive, which presents the following benefits:
-
Forming a more substantial build. This allows you to sand it more easily.
-
Serving as a lubricant to lessen drag while sanding.
-
Helping to crush the sealer into dust.
-
Does not gum up the sandpaper, unlike polyurethane and shellac.
-
Easy to clean up: water-based sanding sealers can be cleaned up with soap and water. while polyurethane and shellac require acetone or paint thinner.
When to Use Sanding Sealer
Woods such as cedar, spruce, and poplar are porous enough to soak up the first few layers of lacquer as if nothing had been applied. Even when pore filler is used, certain woods, such as walnut and mahogany, require a good bit of sanding before the pores are leveled. The material of choice in both cases would be something that builds up quickly and can be sanded easily.
Sanding sealer should be applied after the wood has been sanded down to a bare finish, but before the topcoat (such as paint). Sanding sealer is not recommended on stained surfaces because the sanding process will scuff away the stain.
Safety Considerations
Sanding sealer is a toxic substance and should be handled with caution.
-
Only use in well-ventilated areas.
-
Wear latex gloves and wear protective clothing when handling methylethoxy propanol, as it can be absorbed through the skin.
-
Wear breathing protection.
The fine, airborne dust produced by sanding sealers can irritate breathing passages.
 The fine, airborne dust produced by sanding sealers can irritate breathing passages.
How to Use Sanding Sealer
To use sanding sealer, take the following steps:
-
Sand the Wood: Using a hand or oscillating sander, sand the wood to its bare surface. Sanding sealer will smooth the surface, but you should make the bare wood as clean as possible first. Once done, use a shop vac to clear away the wood dust and go over the surface with a cloth.
-
Mix and Apply the Sanding Sealer: Use a paint stick to gently mix the sanding sealer, taking care to avoid creating bubbles. Then, using a paintbrush, cover the wood surface with a thin layer of the sealer.
-
Sand Down the Sealer: Once the sanding sealer has dried for at least an hour, sand it with a fine-grit (240 grit and up).
Use the shop vacuum to remove the sanding sealer dust, followed by clean rags to clean up any remaining dirt. After cleaning off the dust, you can paint or clearcoat the surface.
 Use the shop vacuum to remove the sanding sealer dust, followed by clean rags to clean up any remaining dirt. After cleaning off the dust, you can paint or clearcoat the surface.
Tips for Using Sanding Sealer
Like most products, there are tips for using sanding sealer more effectively. Below are some insights and strategies to keep in mind when applying it.
-
Only apply one or two coats at most, and sand off most of it afterwards.
-
Sand the sealer down gently. You want to smooth down the product, not sand through to bare wood. If you happen to remove the sealer during the sanding process, repeat the process. Clean the wood, apply a second coat, and sand it again.
-
Because of its tendency to shrink as it dries, sanding sealer shouldn’t be used in place of pore filler.
-
Try switching to an oil-based sanding sealer if your water-based sealer is raising the grain too much.
-
Stain should not be applied over sanding sealer. Wood stains need to soak into the pores of the wood in order to work properly. Sanding sealer prevents this from happening: the stain will remain on the surface.

Using the Right Abrasive With Sanding Sealer
Sanding sealer can make it easier to get quality results with your woodworking projects. To ensure that you don’t compromise the sealer, you will need to use a fine-grit (240+) sandpaper designed to smooth surfaces without leaving scratches or abrasions.
Fintech Abrasives manufactures sanding sheets, pads, discs, belts, and other abrasives in the grit range you need to work successfully with sanding sealers. Our products are premium quality and have a working life that presents an excellent return on investment. To place an order or speak to one of our abrasive technicians, please fill out our contact form or call (888) 223-8768.
Types of sealants and their uses
Sealant is a pasty, viscous or tape material based on polymers or oligomers. Designed to protect against leakage of the working medium through the gaps of the structure and waterproofing. In this case, the sealing layer is formed directly on the connecting seam as a result of the hardening of the polymer base or the evaporation of the solvent.
Acrylic sealants
Acrylic is a polymeric material made on the basis of acrylic acid derivatives, as well as materials from them.
Acrylic sealant is nothing but a mixture of acrylate polymers. This option of sealants is suitable for external and internal works. However, one should take into account the factor that the sealant under the sun’s rays (intense heat) becomes plastic and soft, and hardens in the cold. This can lead to its delamination from the surface.
The next property of acrylic sealant is moisture resistance. Yes, it is moisture resistant, but with constant contact with moisture, it loses its adhesive (adhesion to the surface of the material) properties, which again leads to its delamination.
Based on the above factors, we conclude that acrylic sealant can be used for such work as
- sealing cracks and joints between logs or in wooden structures;
- sealing of joints (in concrete and reinforced concrete structures, at the junction of window blocks, etc.).
Before applying the sealant, first prepare the surface: clean from grease and oil stains, clean from dust, remove moisture (condensate, rain effects, etc.). Then, on the already prepared dry and clean surface, the sealant itself is applied. In this case, either a special gun is used, or squeezed out of a tube. After 15-20 minutes after application, the sealant is covered with a film, but for another hour it can peel off the surface. And although after a day this material seems to be frozen, nevertheless, the total time of its polymerization is 15-20 days.
Benefits:
- Flexibility
- Adheres well to concrete, brick, plaster and wood
- Retains its properties over a wide temperature range – from -20 to +60°C
- Organic solvent free sealant (no odors when applied)
- The formed seam is not affected by UV rays, does not fade and is not afraid of water
- Over the joint can be plastered and painted
Disadvantages
Among the disadvantages, one can only highlight that outdoor work with acrylic sealant must be carried out in the absence of rain, as well as the fact that for use in rooms with high humidity it is better to choose sealants of a different type.
Silicone Sealants
Silicone Sealants are compounds based on a silicone polymer – silicone rubber (about 45% of the composition) that cure at room temperature.
These sealants are:
- One-component – the most common sealants (they are called silicone), which harden due to air moisture.
- Two-component – sealants, the base of which is cured by reaction with a catalyst when they are mixed. They are mainly used in industry.
According to their chemical composition, silicone sealants are divided into:
- Acid curing – they have good adhesion to even surfaces, increased resistance to moisture and high temperatures.
- Neutral – are used, in particular, for sealing plastic surfaces. There is no strong odor.
At the same time, the first sealants (acid ones) have a specific smell of vinegar, and when interacting with metal, they can cause corrosion. However, acidic silicone sealants are more common than neutral silicone sealants, are much cheaper, and are often the best solution for household problems. Accordingly, neutral sealants are more expensive than acid ones, but they do not have a specific smell.
According to the scope of application, silicone sealants can be divided into
- construction;
- automobile;
- special.
In order to determine the scope of application when buying, or to check whether the seller is “selling” the wrong product, it is enough to read the appointment on the package. We will consider only building sealants.
So building silicone sealants (high quality) can be used both for outdoor and indoor work. It can act as a sealing and waterproofing material, as a filler for gaps and cracks, and also as a gap filler between various elements. In other words, silicone sealants act as insulation from external influences, i.e. where it is necessary to provide protection from external factors.
Before using these sealants, as in the case of acrylics, carefully prepare the surface to be treated, and then apply the sealant in the same way to this area. At the same time, work can be carried out both in frost and in heat. However, it is worth knowing that at negative temperatures, vulcanization will take longer. The primary setting of the sealant occurs after 30 minutes, the time of complete polymerization will depend on the thickness of the seam (layer).
Benefits:
- Durable. Service life of silicone sealants 15-20 years
- Resistant to UV radiation and most environmental aggressors
- Has and retains elastic properties in a wide temperature range – from -50 to +200°C
- Have increased adhesion to almost all types of building materials, while not requiring the use of primers
- Easily deformed (displacement, turns), repeating its new shape without loss of tightness
Weaknesses:
- Not recommended for wet surfaces
- This type of sealant cannot be painted over
- Freshly applied silicone sealant has poor adhesion to the surface of the old, already vulcanized (it is not recommended to lay the new sealant on top of the old one), as well as to plastics
- Acid curing sealants can be corrosive to metal and concrete
Polyurethane sealants
Polyurethane is a synthetic material that is widely used in many applications and also acts as a substitute for rubber, rubber and plastic.
Polyurethane sealants – a material designed for sealing joints and seams in building structures. However, due to its properties, this material has acquired a wide scope.
There are two types of polyurethane sealants – one- and two-component.
Sealants of the second type consist of two different components, which must be mixed before use in certain proportions. They are recommended for sealing expansion joints with high deformation, as after vulcanization it is a rubber-like material with a relative elongation at the moment of rupture – not less than 400% (5772-001-50002263-98). The resulting material has good water resistance, elasticity, strength and excellent adhesive properties to almost all types of surfaces.
One-component polyurethane sealants are more commonly used in private construction and households. This is the best material of its kind for sealing seams and joints, roofing elements, for gluing any materials (metal, wood, stone, plastic, etc. ). They can act as an “ambulance” when repairing the seams of silicone sealants.
To start using a one-component polyurethane sealant, it is enough to clean the repaired surface from grease, dirt, dust and moisture, after which it can be applied to the repaired area. Within an hour, a surface film is formed, protecting the seam from contamination, and after 6-7 (the time also depends on the thickness of the seam) hours, the sealant is completely polymerized. After that, its elasticity index will be from 400% to 900%, and the hardness – from 25 to 55 Shore A.
Advantages:
- Fast setting
- High elasticity – up to 1000%
- Withstands mechanical stress and is resistant to UV, moisture, and weak acids and alkalis
- Frost resistance from -60°C to +80°C, as well as the possibility of working at negative temperatures (up to -10°C)
- Resistant to corrosive agents
- They have good adhesion, and also provide strong bonding of surfaces made of various materials
- Can be painted with any paint
- Solvent free
- Does not emit harmful substances after polymerization, as a result of which it can be used in residential premises
- Polymerizes under the influence of air humidity
Disadvantages:
- Contains harmful, caustic substances, which requires the use of protective equipment when working with them
- After opening the package, the sealant quickly loses its properties
- Do not withstand constant exposure to high temperatures (over 120 ° C)
Thiokol sealants (Polysulfide)
Thiokol is a substance that looks and structurally resembles rubber, therefore its second name is polysulfide rubber.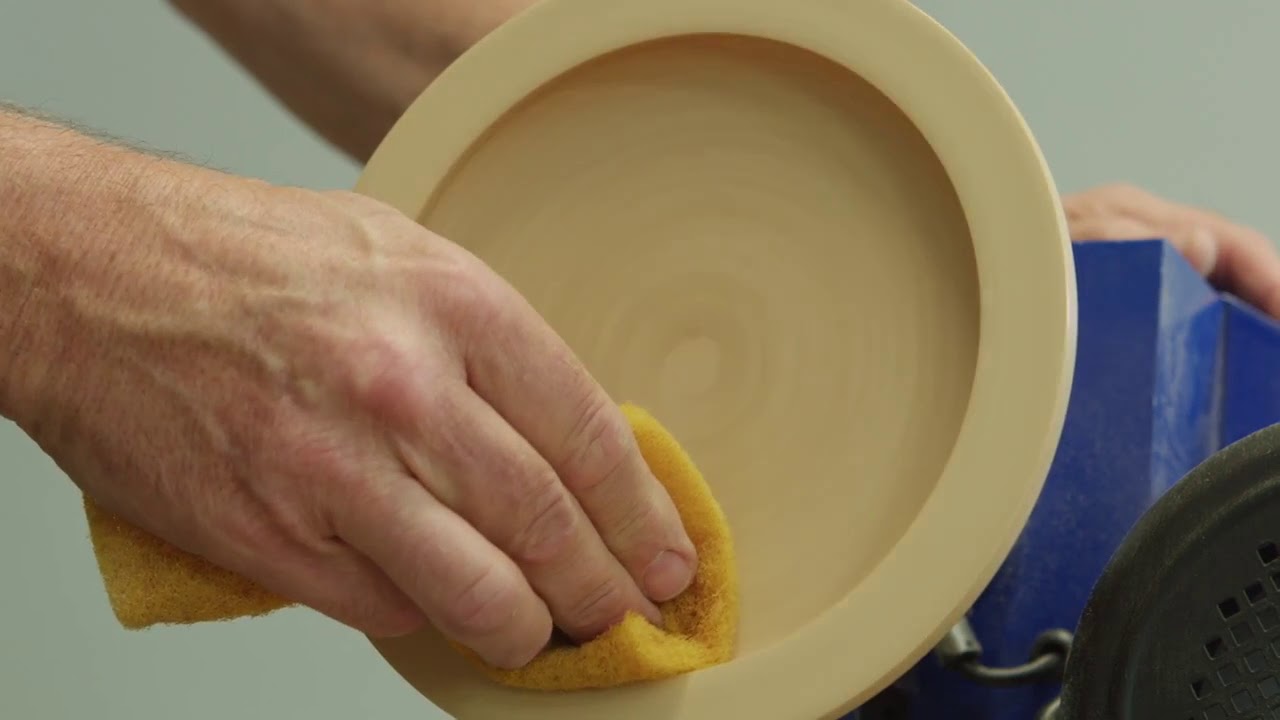
Thiokol sealants – sealants in which liquid thiokol and a thiol-containing polymer are used as a base.
These types of sealants have a two or three component structure, consisting of a base (sealing) and curing paste and a vulcanization accelerator. After mixing all the components in clearly defined proportions, a material with high elasticity and resistance to various acids is formed. However, the resulting composition must be developed within a maximum of two hours. In this case, complete curing occurs (depending on the composition) from several hours to a day.
The main purpose of thiokol sealants is the sealing of joints in concrete and reinforced concrete structures with a maximum deformation of 25%. The procedure for cleaning the prepared surface is the same as for other sealants.
Benefits:
- Highest strength, elasticity and durability of all sealants
- Waterproof
- High resistance to various acids and alkalis
- Resistant to UV radiation and most environmental aggressors
- High petrol and oil resistance
- Have a high operating temperature range – from -55°С to +130°С
- Have good adhesion
- Good permanent deformation
- Service life more than 20 years
Disadvantages
Among the disadvantages of these sealants is that they must be developed in a short time after preparation of the composition. And also the fact that when working with them you need to use personal protective equipment, avoiding contact with the skin.
Bituminous and rubber sealants
Bituminous sealant – is a paste based on a bituminous binder, modified using modern methods and additives, as well as a filler inert to external influences.
Rubber sealant – a material based on synthetic rubber.
Both sealants are widely used for sealing and waterproofing, repair work, deformation or splits, roofing, repair in areas with high humidity and even repair rubber products (boats, rubber boots, etc.). They can also be used for fixing and repairing roofing material and other bituminous coatings, as well as fixing insulating materials (polyurethane, expanded polystyrene) to various bases.
Carrying out repair work using these sealants is carried out at a positive air temperature. It is worth noting that these are the only sealants that do not require mandatory cleaning of the repaired surface before using them. This is due to the high adhesive properties of these sealants.
When applied to the area to be repaired, the sealant cures to form a protective membrane resistant to weather, UV rays and mechanical damage, which, if necessary, can be painted to match the surface to be treated.
Benefits:
- High elasticity
- Excellent adhesion to most building materials
- Weather resistance
- Creates an anti-corrosion layer
- Have a high operating temperature range – from -50°С to +150°С
- Paintable rubber sealant
- The service life of these sealants is about 20 years
Disadvantages:
- Not suitable for certain types of plastics (deformation may occur)
- Contact with mineral oils softens them
- Bituminous sealant not to be painted
Butyl rubber sealants
Butyl rubber is a low temperature copolymerization product of isobutylene and 1-5% isoprene.
Butyl rubber sealants – a material based on butyl rubber, which has a high moisture and air tightness.
These sealants can be classified as high-quality non-curing materials, which can also be produced in the form of seals, mounting tapes and / or tape material of various widths and thicknesses, cords of various diameters, briquettes and mastics of various viscosities.
So, for example, butyl rubber sealant tapes, which have a two-layer structure, and their width ranges from 10 to 180 mm, began to be widely used. Such tapes can be used for gluing seams or cracks, during the installation of roofing materials – their connection.
Over time, tape sealants do not lose elasticity, do not crack or lag behind the surface, but, on the contrary, increase their adhesion. This especially happens with materials such as:
- glass;
- concrete;
- metal;
- tree;
- most polymer materials.
For your information. All butyl rubber sealants retain their properties in the temperature range from -45°C to +150°C.
This type of sealant is used for the construction of a new roof and for the repair of an existing one, for sealing seams and joints of various roofs and building structures, interpanel seams, as well as for the installation of vertical and roof windows.
The application of butyl rubber sealants is similar to the use of double-sided adhesive tape. That is, a protective film is removed from the tape and it is attached with its sides to one and the other product. If it is necessary to increase the tape, then it should be done with an overlap.
The use of butyl rubber sealants in the form of mastics occurs according to the same technology as the above sealants
Advantages:
- Paste-like sealants with temperature changes are able to repeat the deformation distortions of roofing materials
- Have good adhesion to concrete, wood, glass, metal and other materials, which allows them to easily and firmly adhere to their surface
Disadvantages:
- Low tensile strength
- Shrinkage, short service life – maximum 5 years
Bellinzoni Russia | Professional Compounds for Bellinzoni Stone
When it comes to protecting joints from moisture or you need to glue something to a smooth surface, silicone sealant can easily cope with these and other tasks. This tool can make a strong, waterproof connection. This flexible and delicate material is actually made from one of the very hard substances, silicon, which comes in the form of sand or quartz. Polymers are obtained from it, and silicone is made on their basis.
Sealant characteristics
The sealant has a highly stretchable property (elastic). Due to this ability, the material is used for tightness of movable joints. There is a compensation for the distortion of the seams and it is not affected by temperature fluctuations, they have high strength, due to the ability of the material to stretch.
Excellent performance:
- The polymer is used in temperatures from -50 degrees Celsius to +200 degrees Celsius.
- There are sealants that can be used at temperatures up to +300 degrees Celsius.
- Have a high level of adhesion to different materials.
MARMOSIL NEUTRAL can be used to bond various surfaces:
- ceramic,
- metal,
- glass,
- concrete,
- wooden,
- plastic and many other surfaces.
Can be used for both outdoor and indoor applications. MARMOSIL NEUTRAL sealant is resistant to ultraviolet radiation, household chemicals, temperature extremes and moisture. Has antifungal properties.
Additives included in silicone:
- Extender of natural origin – reduce the viscosity of silicone.
- Filler (chalk, quartz dust) – improves adhesion to different materials.
- Fungicide – protects against fungi and mold.
- Coloring – if necessary, color particles are added during the manufacture of silicone.
Types of sealants
Can be divided into 2 groups:
- Monocomponent, more used in industry,
- Two-component, used for repair and construction.
Monocomponent according to the presence of chemical components are divided into:
- Acid – universal. They are marked with the letter A. Made on the basis of acetic acid. Not expensive. The disadvantage of these sealants is that they are incompatible with many metals, during interaction with which they cause corrosion. Not applicable with cement materials, with marble stone.
- Neutral sealants. Alcohol or ketoxime is involved in their manufacture. Therefore, they are perfect for any surface.
- Alkaline Sealants – Special purpose sealants. Made from amines.
 The disadvantage of these sealants is that they are incompatible with many metals, during interaction with which they cause corrosion. Not applicable with cement materials, with marble stone.
 Adhesive sealant can be distinguished separately. Great for bonding glass.
Sealant application method
The first thing you need is a silicone gun. You need to install a tube with silicone on it. The packaging is easy to open with a knife and screw on a special dispenser. You can adjust the amount of silicone supplied, using a dispenser, cutting it off in the right place. The surface must be cleaned and dried before use. Before work, it is necessary to protect the decorative surfaces with adhesive tape. Sealant residues are removed with a wet rag.