Flooring screeding: What is Floor Screed? Its Types, Materials, Construction and Uses
What is Floor Screed? Its Types, Materials, Construction and Uses
🕑 Reading time: 1 minute
Floor screed is composed of cementitious materials and sand blended based on a suitable mix design and applied to provide a leveled surface for the floor finish which is introduced to the surface of the floor screed.
So, floor screed is the base for the floor finish and greatly influences the performance of floor finish. In this article, different aspects of floor screed will be explored.
Fig.1: Details of Floor Screed
Fig.2: Floor Screed Construction
Contents:
- Following points regarding flooring screeds are discussed:
- Types of Floor Screed
- Materials for Floor Screed
- What are the Requirements that a Floor Screed Should Meet?
- Procedure of Floor Screeding
- How a Successful Screed Floor can be Constructed?
Following points regarding flooring screeds are discussed:
- Types of floor screed
- Floor screed materials
- What are the requirements that a floor screed should meet?
- Floor screeding procedure
- How a successful screed floor can be constructed?
Types of Floor Screed
There are different types of floor screed that is specified based on the requirements and applications and the functionality of the floor:
- Unbonded screed floor (Figure 3 and Figure 6)
- Bonded screed floor (Figure 3 and Figure 4)
- Floating screed floor (Figure 3 and Figure 5)
- Heated screed floor (Figure 3 and Figure 7)
Fig. 3: Different Types of Floor Screeds; (A) Bonded Screed, (B) Floated Screed, (C) Unbonded Screed and (D) Heated Screed
Fig.4: Bonded Screed Floor
Fig.5: Floated Screed Floors
Fig.6: Unbonded Screed Floors
Fig.7: Heated Screed Floor
Materials for Floor Screed
Following are the materials used for construction of floor screeds:
- Cement
- Clean and sharp sand
- Water
- And occasionally additives are added to obtain specific properties. Polymer materials or metal mesh or glass are likely to be introduced to reinforce the screed.
The above components are adequately blended based on the prepared material proportions. If the thickness of the floor screed does not exceed 40mm, then the recommended mix is 1 Portland cement: 3 sands or 1 Portland cement: 4.5 sand.
However, 1 cement: 1.5fine sand: 3 coarse aggregate (10 mm maximum aggregate size) should be considered if the floor screed thickness is greater than 40mm.
It should be known that drying shrinkage gets reduced as the proportion of cement to sand is decreased.
Suitable amount of water should be specified to provide required workability since excessive water would reduce floor screed strength and inadequate water quantity lead to poor compaction.
What are the Requirements that a Floor Screed Should Meet?
Floor screeds should have adequate thickness which is based on the screed type and application frequencies. Recommended floor screed thickness based on the type of the screed floor and the construction conditions are provided in Table-1.
Table-1: Recommended Floor Screed Based on the Type of Screed and Construction Condition
| Recommended floor screed thickness, mm | Floor screed type and construction condition |
| 12 | For monolithic construction. In this case floor screed will be placed no longer than 3 hours after the placement of concrete. This will guarantee a satisfactory bond between floor screed and placed concrete beneath it. This will guarantee a satisfactory bond between floor screed and placed concrete beneath it. |
| 40 | For screed floor placed on hardened concrete. The concrete should be cut by appropriate means then cleaned, wetted and finally screed is placed. Not only will this ensure good bond but also make the screed to dry slowly and prevent cracks. |
| 50 | For floor screed placed on impermeable damp proof membrane. In this case a bond between the screed and the layer below it would not exist and hence shrinkage is unrestrained. |
| 65 | For screed installed on compressible course of sound or heat insulation material. This is recommended for domestic application only, otherwise the thickness of the screed should be increased. Lesser thickness will suffer from crack development. |
| 75 | For screed installed on compressible course of sound or heat insulation material. This is advised for applications other than domestic utilization. Lesser thickness will suffer from crack development. This is advised for applications other than domestic utilization. Lesser thickness will suffer from crack development. |
- Floor screed strength should be 20MPa for domestic application and 30MPa for industrial utilization
- It should be solid and compact so as to provide satisfactory base for the floor finish
- It should be curried properly to prevent shrinkage and rapid drying which lead to cracks. So, it should undergo almost all shrinkage, which floor screed might experience, prior to applying floor finish. This will lead to prevent the initiation of cracks.
- Finally, floor screed surface should be flat and smooth.
Procedure of Floor Screeding
- Evaluate the surface of the base
- Estimate materials used for screeding
- Prepare the base
- Prepare the floor screed mixture
- Apply bonding agents such as water or bonding slurry
- Place the floor screed mixture
- Finally, properly cure the placed materials
How a Successful Screed Floor can be Constructed?
- Choose right and suitable screed contractor
- Select suitable screed floor type
- Produce right and suitable floor screed mixture
- Construct floor screed using appropriate and acceptable screed placement process
- Consider right approaches for floor screed protection
Read More:What is Screed in Concrete Construction? Properties and Composition of Screeds
Basics of Screeding For Concrete and Masonry
By
Lee Wallender
Lee Wallender
Lee has over two decades of hands-on experience remodeling, fixing, and improving homes, and has been providing home improvement advice for over 13 years.
Learn more about The Spruce’s
Editorial Process
Updated on 05/03/22
Reviewed by
Deane Biermeier
Reviewed by
Deane Biermeier
Deane Biermeier is an expert contractor with nearly 30 years of experience in all types of home repair, maintenance, and remodeling. He is a certified lead carpenter and also holds a certification from the EPA. Deane is a member of The Spruce’s Home Improvement Review Board.
Learn more about The Spruce’s
Review Board
elenaleonova / Getty Images
When you’re pouring concrete or laying pavers or stone for patios or walkways, everything has to be perfectly flat and level. With concrete, one of the final stages is screeding. With masonry, paver, brick, or stonework, screeding happens toward the end of the project, before the hardscape materials are laid.
Screeding refers to any action of smoothing out a pliable material into a flat, smooth, and level layer. There are tools manufactured expressly for screeding, but you can also make use of any straight board to do the job.
What Concrete Screeding Is
With concrete work, screeding is the action of flattening poured concrete into a smooth, flat layer prior to finishing the surface.
Screeding is only the first step in finishing concrete, and it is not intended to produce a completely smooth final surface. Screeding fills in large gaps and removes high spots in the concrete material being installed. The final finish will be created by floating the concrete with one or more smooth-faced tools that are designed to draw up fine aggregate and cement to the surface of the slab. For large slabs such as driveways or garage floors, the surface is floated with a large tool known as a bull float.
Smaller wood and metal hand floats are used for sidewalks and other surfaces, but whatever tools are used, they can create a smooth surface only if the concrete has first been screeded to create a uniform layer.
How to Screed Concrete
In the process of pouring concrete, a screed is usually a long length of straight two-by-four board or an aluminum bar manufactured for the purpose. Whatever object is used, screeding is done by drawing the tool across the wet surface of the concrete.
The screeding tool is generally long enough so that the ends can rest on opposite sides of the concrete form. The screed is drawn toward the workers with a sawing, scraping motion that simultaneously smooths the surface and pushes excess concrete into any gaps or hollows.
It helps to have two workers, one on each side of the screeding tool, especially for large slabs. Aluminum screeds are often used where precision is needed, as they provide a straighter edge.
For more professional, faster screeding action, a motorized screed may be used. The tool has a long handle to eliminate laborious bending and tugging.
What Masonry Screeding Is
Screeding also describes the action of flattening out a layer of mortar, sand, or gravel underlayment beneath a surface in preparation for laying pavers.
In this context, screeding is done to help a subsequent upper layer (the concrete pavers, stone, or brick) rest firmly on a smooth, flat layer.
Another context where screeding is used is with leveling compounds. You might have an uneven sub-floor that needs to be filled in with leveling compound. If the compound is not self-leveling, then you must drag a screed across the top to flatten and level the compound, prior to laying the floor covering.
How to Screed a Masonry Base
For masonry items like bricks or pavers, a layer of 1-inch coarse bedding sand is first dumped and shoveled evenly across the area. Since this is the last bedding layer before laying the masonry product, it’s important to get this as smooth and perfect as possible.
One trick to keep screeding consistent is to lay out 1-inch PVC pipes before dumping the sand. As you screed the sand across the pipes, the pipes act as guards to prevent you from screeding any deeper.
After screeding, carefully remove the PVC pipes and fill in the depressions with loose sand. It’s always a good idea to trowel the loose sand to smooth out the filled-in areas.
Screeding With an Assistant
Working with an assistant is critical for perfect screeding. If not, you’re kneeling in the sand layer ahead of the screed tool. The screed tool will help to smooth out your knee and shoe depressions. But it’s best not to kneel in the sand in the first place. When you work with an assistant, both of you can remain outside of the project area.
In addition, screeding tools can be hard to handle. Screeding a 3-foot-wide walkway is manageable by one person. But when the screeding tool is a full-length two-by-four (8 feet or even longer), it is very difficult for one person to effectively handle the tool. You’ll need two people—one at each end—to control this heavier, larger tool.
Floor screed in Kaliningrad. Prices for pouring and turnkey floor screed.
Filling the floor in Kaliningrad – what mixtures are used most often
Just a couple of decades ago, during construction, no one wondered what kind of flooring to do in the apartment. This is not surprising, because at that time there was only one way – a wet screed. Currently, builders have mastered two new methods – semi-dry and dry floor screed.
Wet screed
Although the wet method is traditional, it has many disadvantages. Today, the semi-dry method is becoming very popular. However, wet screed is still in use today and has several types:
- Finished screed;
- Knitted;
- With waterproofing;
- With thermal insulation.
Modern builders are quite justifiably gradually abandoning the wet method, because it has a number of disadvantages:
- Mortar after pouring requires leveling and additional surface treatment;
- Compound takes a long time to dry;
- Cracking is a common problem.
Semi-dry floor screed
The semi-dry type screed is divided by professionals into two types, depending on what material is used – cement and concrete.
Cement screed – is distinguished by its composition, in which, in addition to cement, substances such as fiberglass and plasticizers are added. It is thanks to the latter that the solution becomes elastic and its use is noticeably facilitated.
Concrete screed in laying technology does not differ much from cement screed. Even the composition of mixtures has a number of similarities with cement compositions. The only significant difference is the lighter weight of the solution.
Dry screed – this type is an alternative to wet and semi-dry type, and is gaining more and more popularity in recent years, due to the relative cheapness, speed and ease of use. With a dry screed, special material is poured onto the black floor (expanded sand is most often used), the embankment is leveled and rammed, after which special plates are laid on top, fastened with glue and self-tapping screws. As a result, a coating will be laid on these slabs (laminate, parquet, tile, linoleum, etc.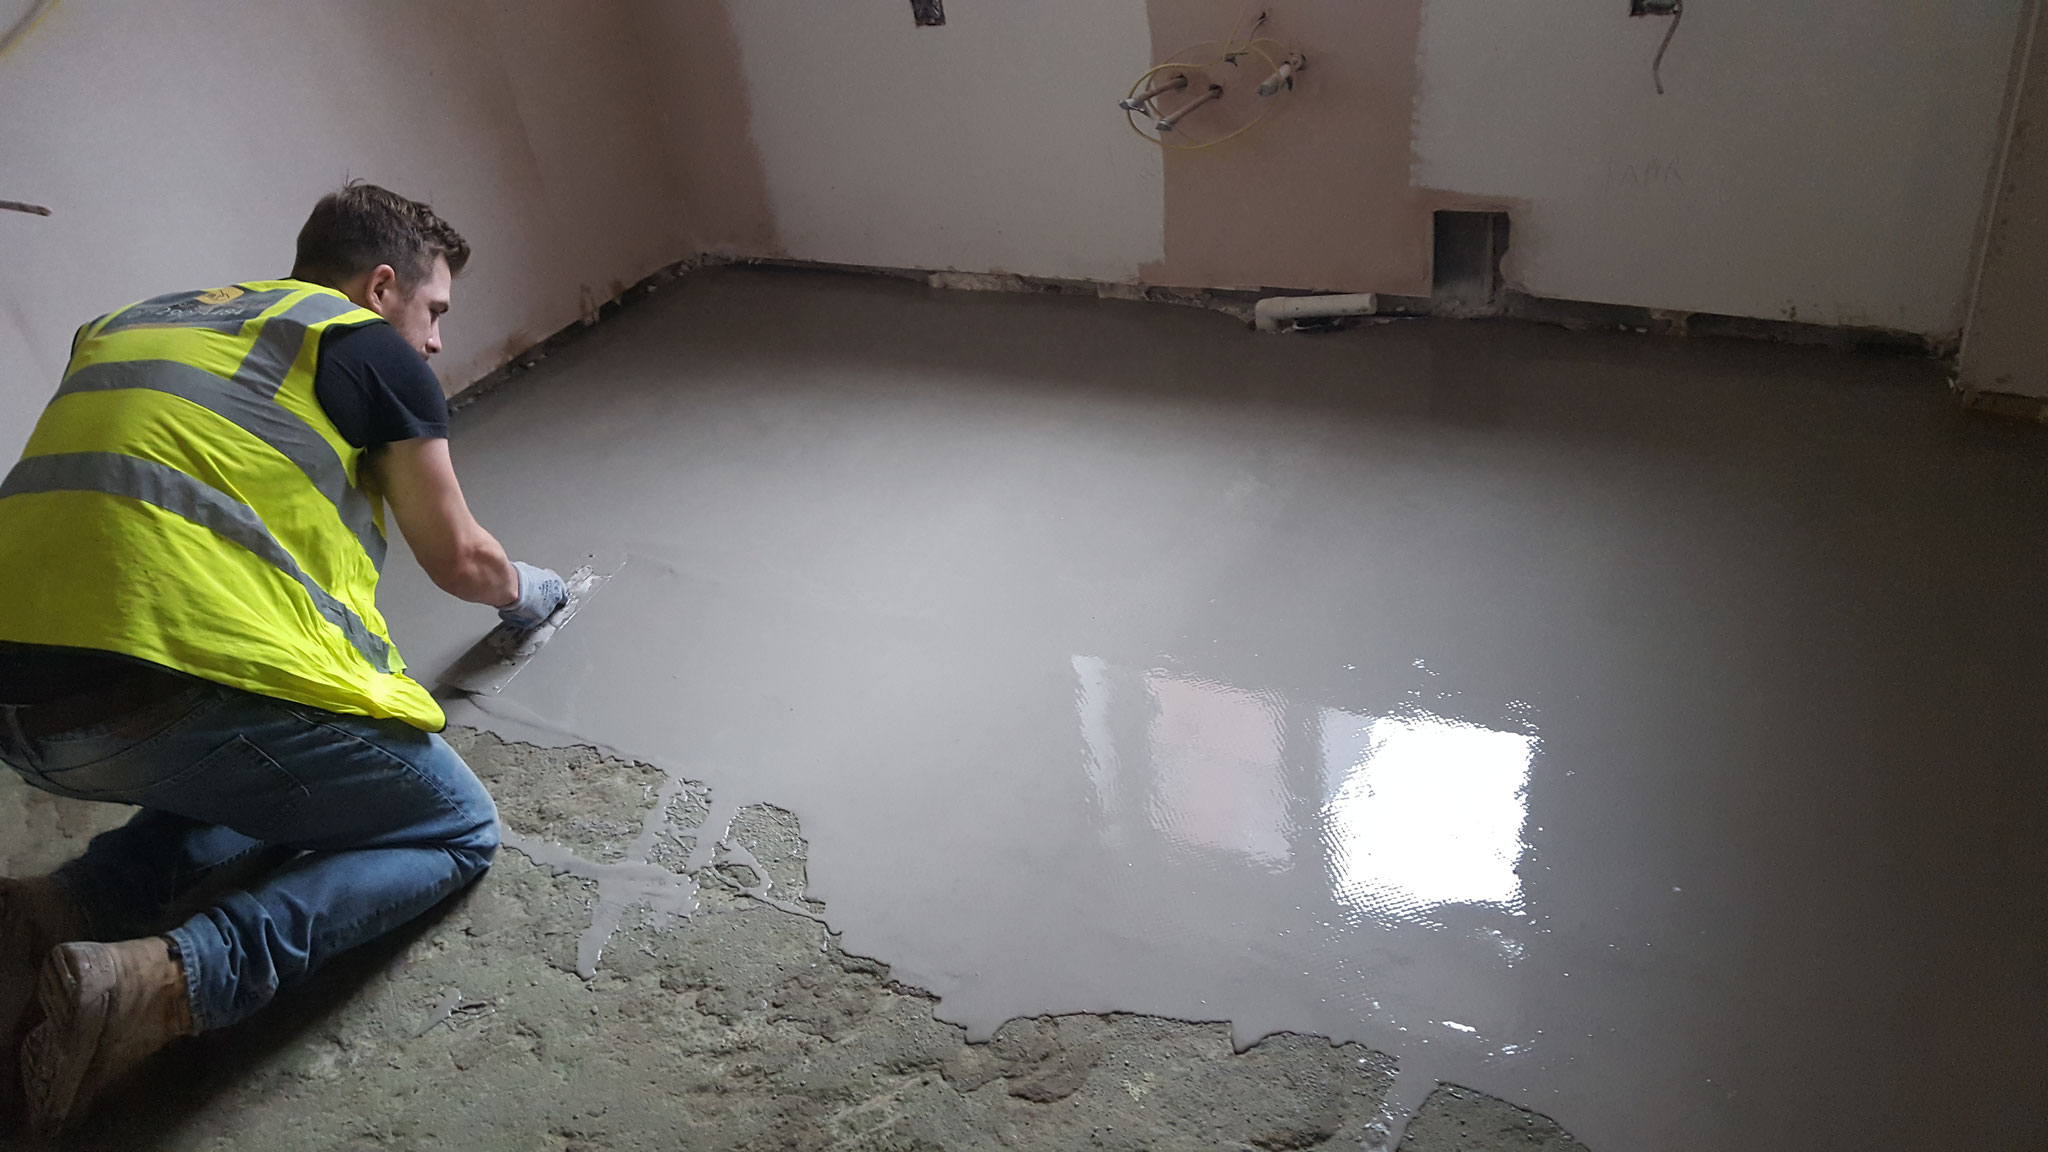 ). Due to the porosity of the filling, high thermal and noise insulation is provided.
Pouring concrete floors in Kaliningrad in 4 stages:
Arrangement of beacons
Beacons are exposed in order to eliminate irregularities in the process. Throughout the room at a certain distance from each other in the same plane and strictly along the horizon, special strips are installed. They will serve as a level guide.
Solution preparation
At this stage, in accordance with the necessary proportions, the composition for the screed is mixed. If you plan to use a concrete composition, then it is better to order it ready-made.
Filling the floor
At this stage, the most important thing happens – the direct pouring of the solution. You should start from the far wall, filling the space between the beacons with mortar.
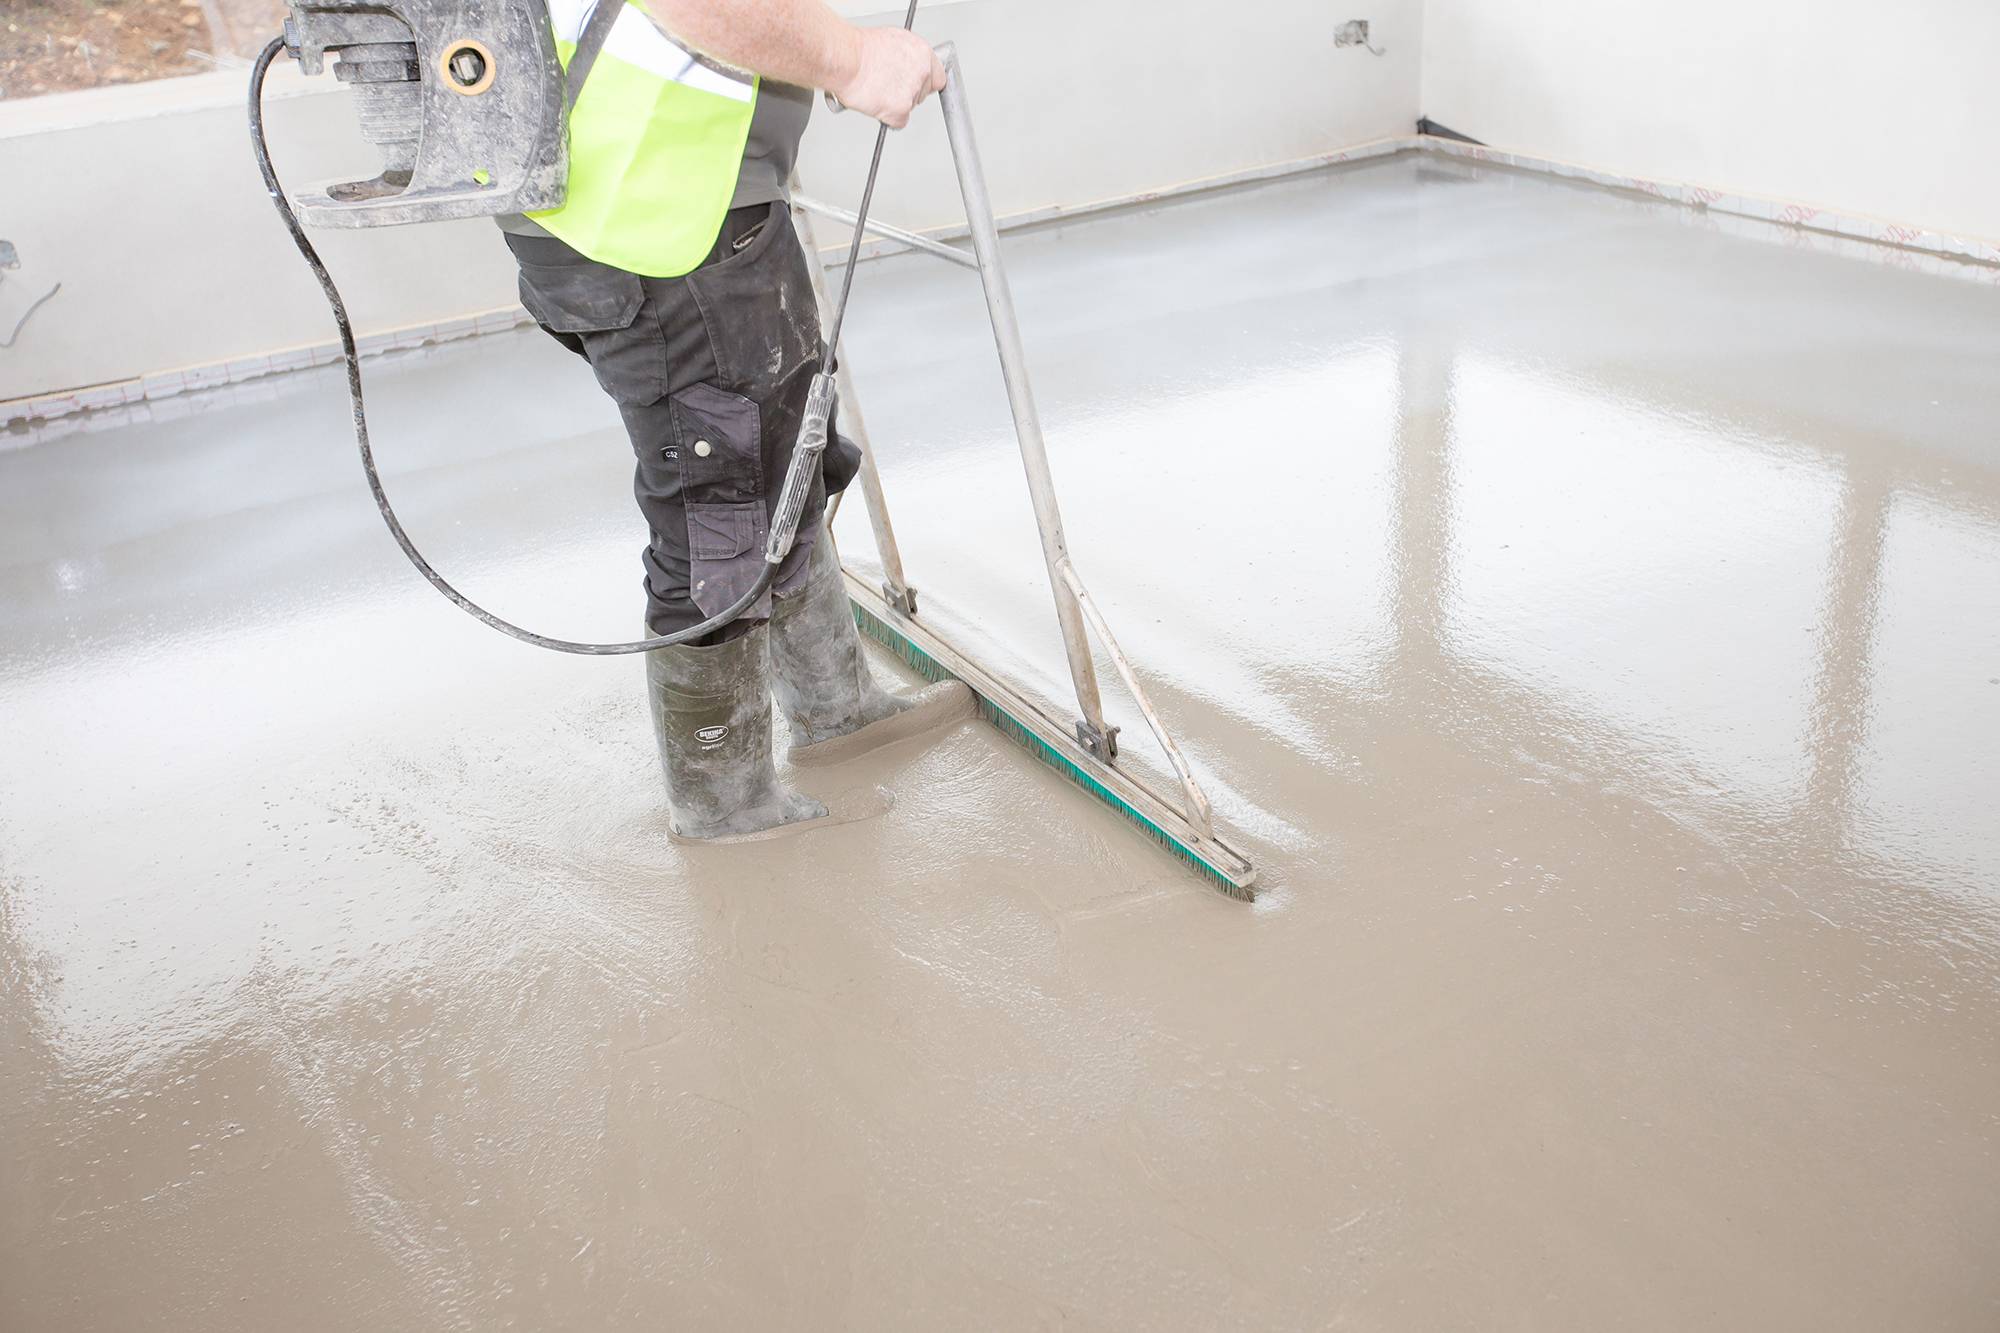
Sanding
Sanding the floor should be done after the screed has completely dried. It is unacceptable to start grinding earlier. The process is carried out with special equipment.
Filling the floor in an apartment requires high professionalism of the craftsmen, because despite the apparent simplicity in this work there are many implicit moments, missing which can significantly disrupt the production process. Which, in turn, can lead to damage to the coating, the need for subsequent repairs and, as a result, financial costs. Therefore, we recommend contacting our specialists with extensive practical experience. We will quickly and efficiently carry out work on the installation of any type of screed, as well as pouring underfloor heating, if necessary. You can find out the prices for filling the floor in the price list for finishing work.
What are the ways to level the concrete floor
Puttying concrete
This type of leveling is performed with special putties, which are manually applied to the surface with spatulas, eliminating irregularities.
Concrete grinding
This procedure is performed using special mosaic-grinding machines. In this way, a layer up to 5 mm thick is removed. Grinding a concrete floor in Kaliningrad is not the most common service (compared to self-leveling compounds, for example), but it is quite popular.
Concrete milling
With the help of special equipment, it is possible to remove irregularities up to 2-3 centimeters, but it will not be possible to remove smooth drops over long distances.
Self-flowing
Pouring with a self-leveling mixture is by far the best way to level a concrete floor. The special mixture independently spreads over the entire surface, making it, after hardening, perfectly even. The price of work on pouring a self-leveling mixture may not be lower than that of other methods, but in terms of efficiency and simplicity, such alignment is significantly superior to others.
Floor screed: what is it, what happens and is it necessary?
As a rule, the screed is already included in the repair list. Customers are confronted with a fact or asked a number of questions about the screed and its necessity. Not everyone knows what it is and why it is needed. So, even if you know everything about the screed, we recommend reading this article. You will definitely find something new for yourself!
What is screed
This is the layer that serves as the base for the floor covering.
Floor screed is almost always done for leveling (sometimes creating a slope), less often to stiffen the surface. The secondary tasks of the screed is to cover underfloor heating, pipes, wires. It is laid on top of the ceiling or on auxiliary, for example, heat or sound insulating layers.
Screeds can be used as a finishing surface, such as floors in garages and parking lots, but this is not our case. In apartments or houses, the screed serves as an intermediate layer for laying a top coat on them.
Types of screeds
To begin with, we classify according to the method of adhesion to the base:
- Bonded floor screed – this screed is placed on the work surface and, as a rule, fastened to it due to adhesion;
- Floor screed on a separating layer – it is separated from the lower layer by waterproofing or thermal insulation, but in contact with the walls of the room.
 Not common;
 - Floating floor screed – this type of screed is installed on a cushion of sound and heat insulating layer, without touching the walls of the room, which ensures the best quality of sound insulation. It is this type of screed that we most often see in new buildings.
 Not common;
 According to the laying method, 4 types of screed are distinguished: More often it is called a beacon screed, since the technology involves first installing beacons, and then leveling the mortar.
You may need a screed to: You have a new building and a semi-dry screed has already been poured by the builder. In this case, do you need a screed? It is impossible to answer unequivocally, but depending on the chosen floor covering, with a high degree of probability it is possible to say YES – NEEDED. Many floor coverings that seem easy to lay on top can be demanding on the substrate. For example, Tarket’s laminate has a flatness requirement of 2mm per 2m rail. (https://www.tarkett.ru/ru_RU/node/ukladka-laminata-i-uhod-3639). To quote from Tarket’s own website: “Irregularities in the base can lead to subsequent deformation of the laminate flooring during operation. Under its own weight and with the help of a roller, it spreads, and itself creates a flat surface without the need for manual alignment. Different compositions overlap the different thicknesses of the required screed. NE, due to the high cost of the composition, is poured in thin layers, usually up to 1 cm. Can be filled up to 2 cm.
Why you need a screed
 Depends on the type of underfloor heating (communications), and the intended flooring. It can be both SV and a thick screed;
 Consider a typical situation
